The roof of your RV is just as important to its function and longevity as any other part. It’s the only barrier between you and the elements, so it’s vital that it be in good shape. Here are some tips for repairing an RV roof if there are leaks or holes in need of attention.
What Is an RV Roof?
An RV roof is the exterior of your RV that protects everything inside. It has seams and panels that seal in the insulation and provide protection from leaks, water, condensation and pests.
Why You Should Repair Your RV Roof?
Leaky or damaged roofs can cause a variety of problems including mold, mildew, and rot. Not only does this look bad, but it is very unsafe for you and your passengers. One of the main reasons why you should repair your RV roof is to ensure that your RV is in excellent condition. Being careful with the repairs of your RV roof will allow you to avoid leaks and other problems that can eventually destroy your home. Follow this site https://cagan327.blogspot.com/ for more information.
How to Repair Your RV Roof?
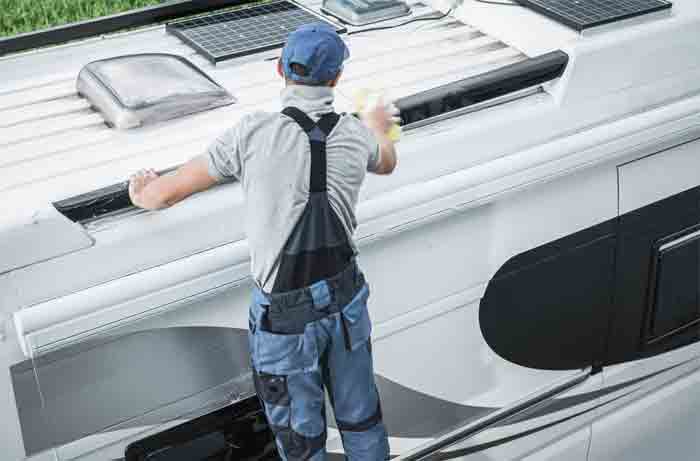
As an RV can be regarded as a home in its own right, it is essential to protect your investment with regular maintenance to ensure it remains in top condition. In order to repair an RV roof, the owner should follow the following steps:
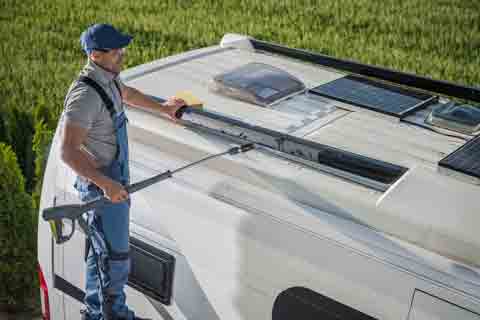
Step 1: Clean up all debris from the rooftop.
Step 2: Remove any loose material from the roof surface by lifting or shaving it off with a putty knife or chisel blade. This includes tar paper, asphalt paper, old roofing felt and tin.
Step 3: Check for roof leaks using a garden hose and a bucket of water on the ground below the area where you think there may be a leak.
Step 4: Next, inspect all shingles to make sure that they are not cracked or broken. Then, you need to prepare the area by clearing away any debris and low-hanging branches.
Step 5: Make sure ventilation is provided underneath the roof by cutting two small holes using a keyhole saw on each side of the roof and at least one foot above the ridge line.
Step 6: The next step is to start patching. You can use any kind of metal, rubber or foam material to protect your RV roof from leaks by applying the product as directed on their labels.
Step 7: Now that you have patched all damaged areas and made sure it has completely dried, you should buy a good quality rubberized asphalt underlayment that won’t stretch or crack when you install it. Make sure that it has a peel-off backing for easy installation, and apply it to the roof in 2 foot wide strips by following the line between two adjacent rows of shingles all around your roof.
Step 8: Lastly, to prevent water from seeping under the ridge vents, you should apply a strip of rubberized asphalt across the top edge of each vent opening along with your underlayment.
Tips for Maintaining Your RV Roof after It Has Been Repaired
Maintaining your RV roof is important after it’s been repaired. The best way to do this is to make sure you cover it with a protective layer such as a tarp when you’re not using it. As a result, the roof will not get too dirty whilst it sits in one place and while you are camping. You should also clean the RV before and after each use. It’s important to clean the roof, because if it’s covered with dirt and grime, water can get in easier than it would otherwise. You should also regularly check for leaks. Some people even choose to lay out a tarp beneath the RV every time they use it, just in case there are any leaks or puddles that form. Some choose to use a roof sealant. This is an extra layer of protection, but it doesn’t have to be renewed each time you use the RV. It lasts for months, so there’s no need to apply it every time. Be sure you are using the same brand of sealant as before or one specifically made for RVs so that the roof doesn’t have any funny reactions.
Conclusion
Repairing an RV roof is a good idea if it has been leaking or developing any holes. It’s important to take care of your home and make sure you’re doing all the right maintenance in order to avoid future problems. After reading this post, we hope you will be able to easily repair your RV.