Wallpaper borders are a great way to add some color and personality to your room. It’s important that you have the right tools for the job, though. In this article, we’ll go over all of the steps necessary for hanging a border.
Tools Required For Hanging Wallpaper Borders
Tools that are required for hanging a wallpaper border include:
– A small, sharp utility knife or scissors
– Wallpaper (we recommend 12″ or wider)
– Quarter-inch plywood or 1/4″ beadboard cut into 2″ strips, or a traditional miter box and adjustable miter saw.
– 3M Super 33+ spray adhesive
– Quality textured wall paint
Steps For Hanging A Wallpaper Border
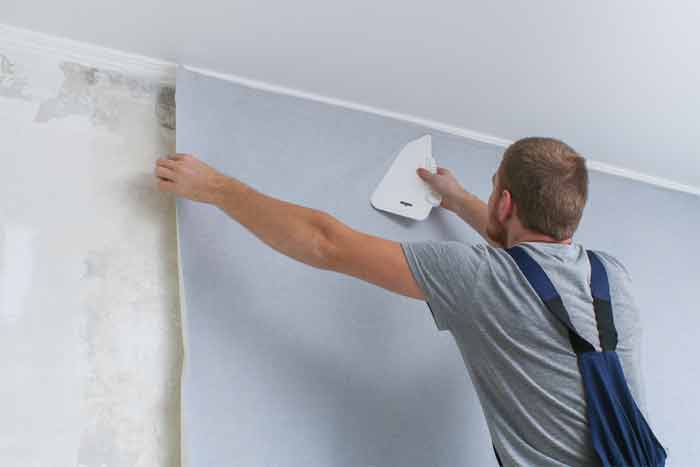
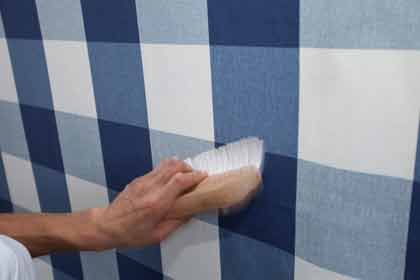
The first step to hanging a paper border is to measure your walls and purchase the correct length and width of wallpaper Singapore. Next, you’ll need to allow enough excess on the top for trimming. You also need to dampen the back of paper before pasting it on your walls. This will remove any dust or lint that might be on it and make it easier when smoothing out any bubbles. When pasting the strips, be sure to use quality adhesive, and let them dry for 10 minutes before moving onto the next step. You’ll want to have a nice, even finish with no bubbles or creases in order to achieve a professional looking wall border.
The next step to hanging a wallpaper border is the trimming. The excess top portion of the paper should be carefully trimmed off with a utility knife or pair of scissors. You can also use a special tool called a wallpaper scorer and trimmer but it’s not necessary for this task. Once all of the excess paper has been removed, you can touch up any spots that need painting. If you are using beadboard or a miter box to create your border, you can skip this step. Now you’re ready to touch up any spots that need painting and enjoy the new look of your home!
Tips To Avoid Common Mistakes When Hanging A Paper Border
There are a few things that can make hanging wallpaper border a little easier. Here are some tips on how to avoid the most common mistakes:
– Remove any dust or lint before pasting
– Use quality adhesive to prevent bubbles
– Make sure to trim the paper so it’s about 1″ from the top of the wall
– Don’t hang anything heavy on your walls for at least 24 hours
A Few More Tricks For Hanging A Wallpaper Border
One last thing that you might want to know is that parchment paper can be used instead of regular paper. This will save you the need to wet and dry the paper before making your border, and is a more environmentally friendly option. You should also know that you can also use one of the many different types of pre-cut borders out there to make this project even easier.
Conclusion
We hope that you have a better understanding of how to hang wallpaper border. It’s important to be sure that the surface is clean and smooth so it looks as good in real life as possible. If you’ve followed these tips, then your walls should look amazing! Now it’s time for us to go back up there with some scissors and give our wall an edgy new style.